aftermidnight
Garden Addicted
- Joined
- Jun 5, 2014
- Messages
- 2,182
- Reaction score
- 4,026
- Points
- 297
- Location
- Vancouver Island B.C. Canada
When we bought this place we had a shoestring budget, raising 3 kids on a single salary we squeaked through by being frugal so not much was done at first.The addition was built but not finished off right away, a bit at a time, but over the years we got most but not all done. The walls in the original part of the house are all lath and plaster, they were full of badly repaired cracks, so each room at a time armed with a FEW buckets of something similar to spackle I patched up the cracks with an gauze type tape. I slapped on a thin coat of goop, covering a multitude of sins, then I used a chore girl type roller to do a rough finish. I painted these wall an off-white grey and have kept them the same color all these years, hard to paint so since they can't be washed if they need some freshening up I thin the paint, spray it on and smear it around with a brush. Don't laugh it works.
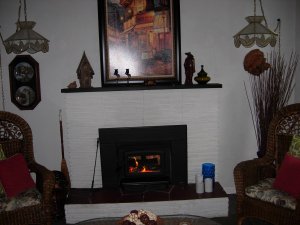
The living room is around 11'x 12' The wall behind the fireplace had some crummy wood paneling, 8 ft. sheets, the only trouble is these are 9 ft. ceilings. Sooo what did they do, saw off a piece and add it to the bottom, talk about hate. Hubby made the mistake of one night saying oh, it's just tacked on, it'll come off easy. I said really, and while hubby and DS#2 sat on the couch watching in horror I ripped them off. if you think they had looked bad you should have seen what was underneath. Two wall outlets had been put in, there were gapeing holes where the plaster had been punched out, peeling paint of numerous colors these wall had been painted over the years. As they looked on in horror I shrugged my shoulders and said not a problem as I had already conquered the dining room and all pumped up about that. I drilled a few holes in the sides of the plastered holes and made a framework using wooden skewers to hold a coat of plaster, Taped up the other cracks, filled in the gouges and slapped on another coat. I still hated the pink roman tile fireplace, light bulb came on, I ran for my can of paint and painted it the same as the walls . Since then we've had an insert put in, works like a hot da*m and heats the whole house when it's on.
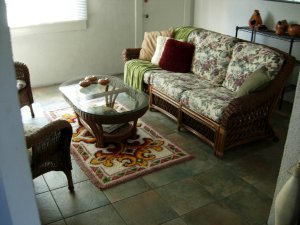
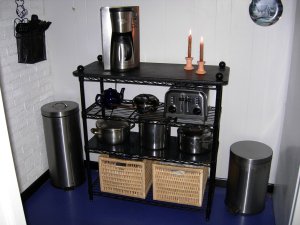
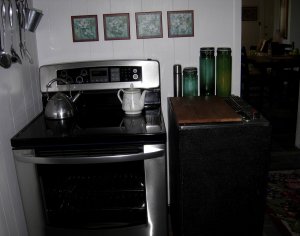
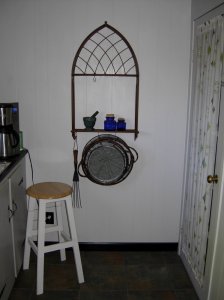
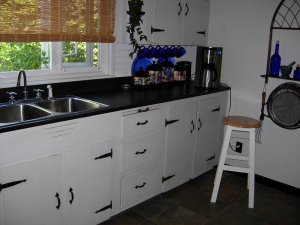
Those wire shelves are now part of the pot rack I made for the kitchen, the rest of the shelves we made into a stand for our coffee pot, storage and a couple of baskets. I never throw anything out much to hubby's disgust .
.
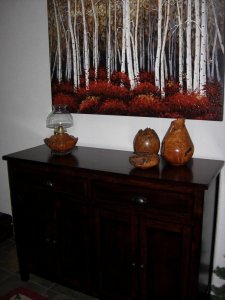
I replaced the wire shelves with this .
.
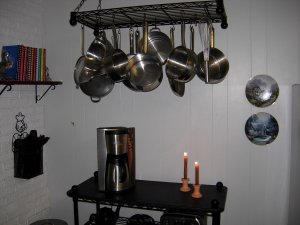
My pot rack and storage in the kitchen before the floor was tiled, wall beside is faux brick painted. The rest of the walls are that cheap photographed knotty pine painted over. I told you I did stuff on the cheap .
.
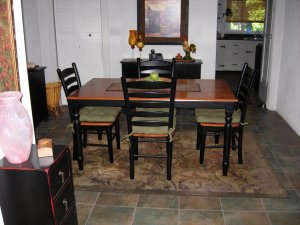
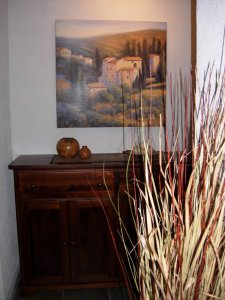
Other pictures of the dining room.
Annette
The living room is around 11'x 12' The wall behind the fireplace had some crummy wood paneling, 8 ft. sheets, the only trouble is these are 9 ft. ceilings. Sooo what did they do, saw off a piece and add it to the bottom, talk about hate. Hubby made the mistake of one night saying oh, it's just tacked on, it'll come off easy. I said really, and while hubby and DS#2 sat on the couch watching in horror I ripped them off. if you think they had looked bad you should have seen what was underneath. Two wall outlets had been put in, there were gapeing holes where the plaster had been punched out, peeling paint of numerous colors these wall had been painted over the years. As they looked on in horror I shrugged my shoulders and said not a problem as I had already conquered the dining room and all pumped up about that. I drilled a few holes in the sides of the plastered holes and made a framework using wooden skewers to hold a coat of plaster, Taped up the other cracks, filled in the gouges and slapped on another coat. I still hated the pink roman tile fireplace, light bulb came on, I ran for my can of paint and painted it the same as the walls


Those wire shelves are now part of the pot rack I made for the kitchen, the rest of the shelves we made into a stand for our coffee pot, storage and a couple of baskets. I never throw anything out much to hubby's disgust
 .
.
I replaced the wire shelves with this
My pot rack and storage in the kitchen before the floor was tiled, wall beside is faux brick painted. The rest of the walls are that cheap photographed knotty pine painted over. I told you I did stuff on the cheap
 .
.

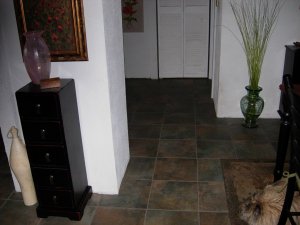
Other pictures of the dining room.


Annette




 Since you don't like dusting, have you considered getting rid of pieces you are not emotionally attached to? That's something I'm trying to do. I want less now. I find simplifying my life is so soothing and less to clean.