desertgirl
Garden Ornament
I read everything I could get my hands on (the local librarian thinks I'm quite nuts  ), and this is what I came up with.
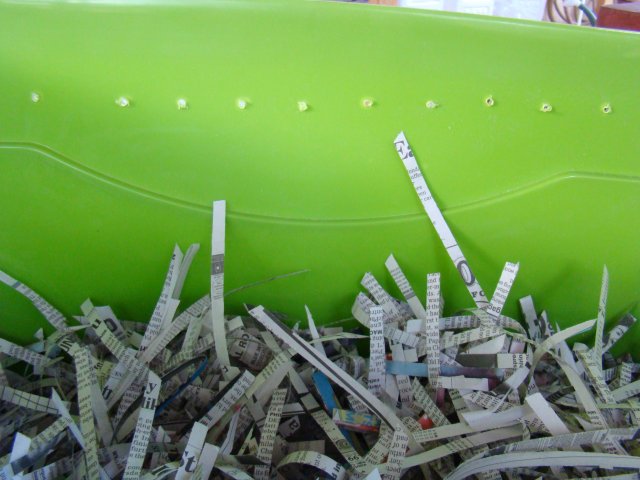
This is the bin they will live in. I drilled drainage holes in the bottom (about 6 holes) and ventilation holes in the top/sides (about 30 holes). I used a 1/4 inch drill bit so they can't crawl out.
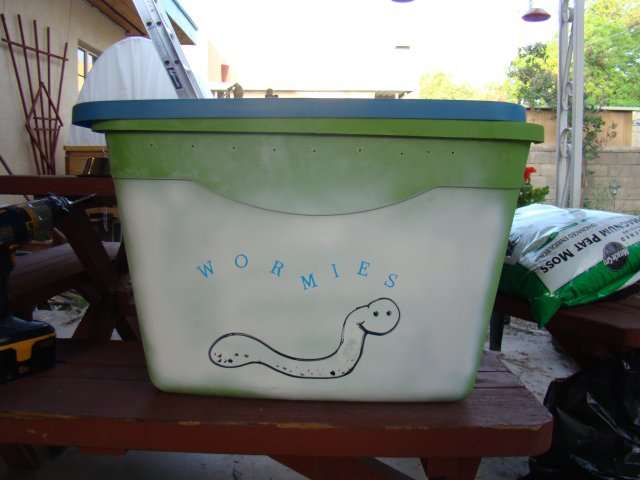
Their bin sits inside another bin that will catch all of the runoff (worm tea). I fastened two 6 inch blocks in the bottom so the bins won't get wedged together.
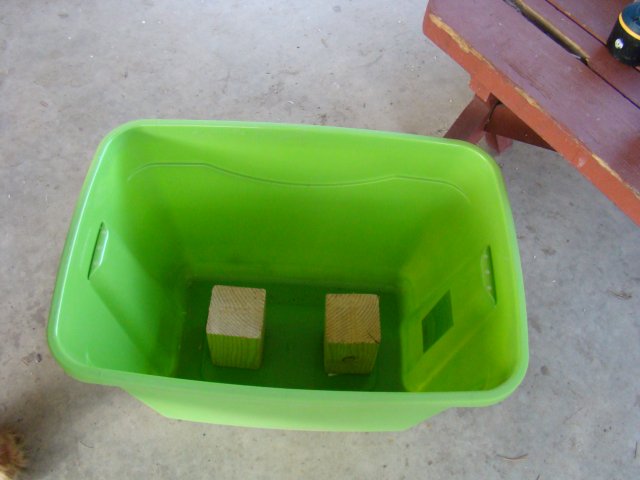
Here they are together. Below that is a pic of the fawcet I will install later so that I can just pour out the runoff without having to tip the whole affair on it's side to get the "liquid gold".

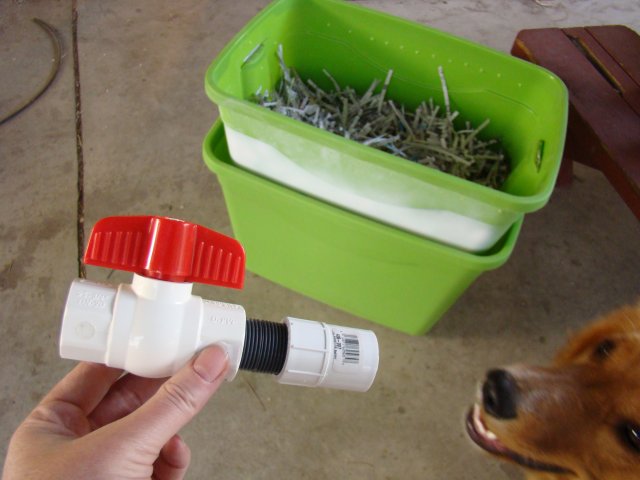
Here is the beginning of the bedding-2 parts shredded newspaper (no glossy or highly colored). To this I added 2 parts peat moss (soaked in water for 24 hours) and 1 part sterile potting soil. I moistened everthing to the consistancy of a wrung out sponge. You can see the ventilation holes in this pic.
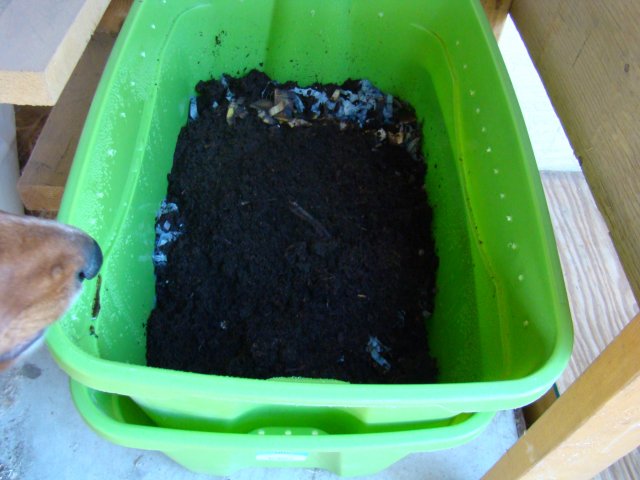
And here is the finished project with the worms in their new home (with a banana peel for a snack after their long journey). It will usually have the lid in place. As always, my pup is overseeing the entire project.
I ordered my worms from Topline, and was very pleased with them. I started out with two pounds of red wigglers (no earthworms or nightcrawlers-no good for composting). I will feed them approx a pound of food a day, but will keep an eye on them and back off if they are still working on what I've given them previously. I will keep the bins moist (probably a light mist each morning, as I live in the high desert where it is hot and dry.
I'll keep you posted.
Thanks for checking out my project. Le tme know if you have any questions, as I have now know more about worms than any woman should!
Happy worming!!!!!
 ), and this is what I came up with.
This is the bin they will live in. I drilled drainage holes in the bottom (about 6 holes) and ventilation holes in the top/sides (about 30 holes). I used a 1/4 inch drill bit so they can't crawl out.

Their bin sits inside another bin that will catch all of the runoff (worm tea). I fastened two 6 inch blocks in the bottom so the bins won't get wedged together.

Here they are together. Below that is a pic of the fawcet I will install later so that I can just pour out the runoff without having to tip the whole affair on it's side to get the "liquid gold".


Here is the beginning of the bedding-2 parts shredded newspaper (no glossy or highly colored). To this I added 2 parts peat moss (soaked in water for 24 hours) and 1 part sterile potting soil. I moistened everthing to the consistancy of a wrung out sponge. You can see the ventilation holes in this pic.

And here is the finished project with the worms in their new home (with a banana peel for a snack after their long journey). It will usually have the lid in place. As always, my pup is overseeing the entire project.


I ordered my worms from Topline, and was very pleased with them. I started out with two pounds of red wigglers (no earthworms or nightcrawlers-no good for composting). I will feed them approx a pound of food a day, but will keep an eye on them and back off if they are still working on what I've given them previously. I will keep the bins moist (probably a light mist each morning, as I live in the high desert where it is hot and dry.
I'll keep you posted.
Thanks for checking out my project. Le tme know if you have any questions, as I have now know more about worms than any woman should!

Happy worming!!!!!


 Thank you for posting it. :bouquet